I installed Proxmox on a spare NUC8 to run all kind of things and get Proxmox experience.
Hardware
- Intel NUC with at least 8 GB of memory plus required VM memory size, I use 32 GB.
- Make sure you have enough hard-drive space. I use a 256 GB SSD.
- BIOS boot and hit F2 to enter. Look for boot order and boot devices. Make sure USB boot is priority. Also make sure you enabled virtualization features of the processor.
Prepare Installation Medium
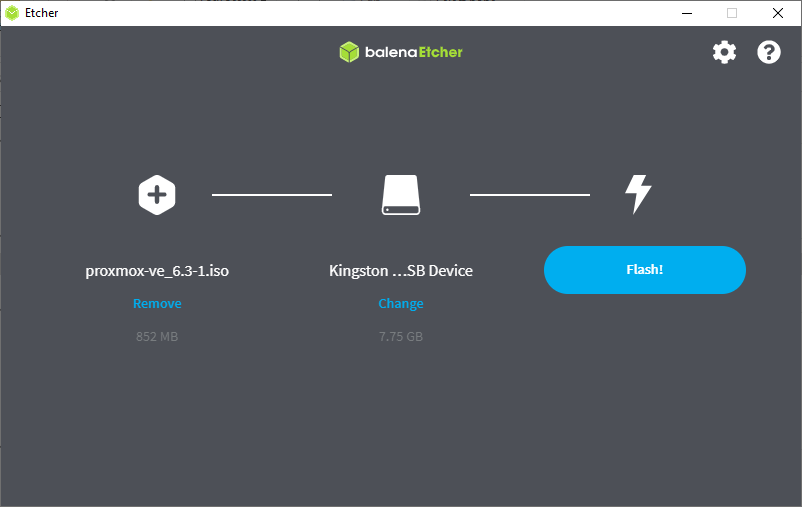
Download latest Proxmox image from this site.
Proxmox 6.3-1 at time of writing.
You need a USB stick with at least 1 GB size, write the ISO image to it using, Balena, Rufus etc.
Install
- Boot NUC from this USB stick.
- Select your Country, Keyboard layout and Time-zone.
- Choose the hard-drive where you want to install Proxmox on.
- Set the root password. (DON'T LOSE IT!) and fill in your email address for alerts.
- You can also specify a host name and network settings.
- Install and reboot after installation is done.
- Login to Proxmox web interface at https://your_ip:8006.
Configuration
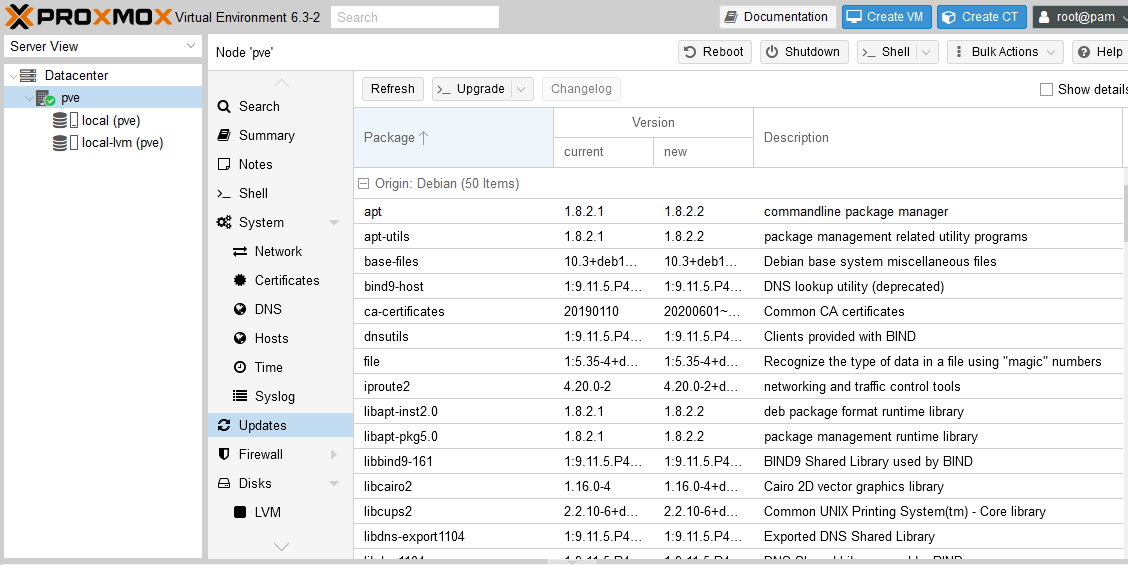
In order to get new images you need a valid repository. Given you have no subscription we are adding the pve-no-subscription repository.
Login with SSH to your PVE server, rename pve-enterprise.list to pve-no-subscripton.list and change contents.
Comment line in pve-enterprise.list and check with running apt-get update
# cd /etc/apt/sources.list
# mv pve-enterprise.list pve-no-subscription.list

# vi pve-no-subscription.list
deb http://download.proxmox.com/debian/pve bullseye pve-no-subscription
Update
Navigate to Updates menu, click Upgrade, after update run, click on Reboot.
Running hooks in /etc/ca-certificates/update.d...
done.

Your System is up-to-date


Seems you installed a kernel update - Please consider rebooting
this node to activate the new kernel.

starting shell
root@pve:/#
Creating your first VM
Download an OS image for example Debian 10 net-install from this site.
I used Debian 10.8.0 (amd64) at time of writing.
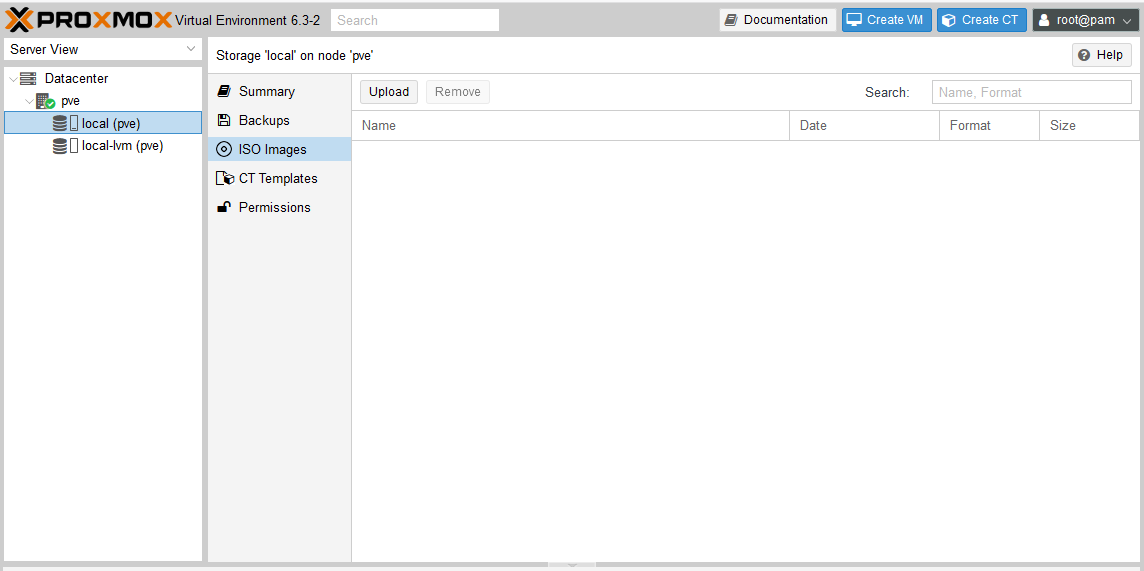
Upload the ISO.
Running hooks in /etc/ca-certificates/update.d...
done.

Your System is up-to-date


Seems you installed a kernel update - Please consider rebooting
this node to activate the new kernel.

starting shell
root@pve:/#
Adding extra disk for SMB share
I added another 1GB SSD stick to be used as NAS.
If disk contains a partition it's not displayed as unused in GUI.
# dd if=/dev/zero bs=1k count=10 of=/dev/sdx
# gdisk /dev/sdx

	3 - Create blank GPT
	Write
Create ZFS zpool from GUI or using CLI
# zpool create -o 'ashift=12' data /dev/disk/by-id/ata-WDC_WDS100T2B0B-00YS70_20406A803528

# zfs set mountpoint=/mnt/data data
# zfs set compression=lz4 data

# zpool list
NAME   SIZE  ALLOC   FREE  CKPOINT  EXPANDSZ   FRAG    CAP  DEDUP    HEALTH  ALTROOT
data   928G   138K   928G        -         -     0%     0%  1.00x    ONLINE  -

# zpool status
  pool: data
 state: ONLINE
config:

        NAME        STATE     READ WRITE CKSUM
        data        ONLINE       0     0     0
          sdb       ONLINE       0     0     0

# zfs list
NAME   USED  AVAIL     REFER  MOUNTPOINT
data   138K   899G       24K  /mnt/data
Install and configure Samba
# apt install --no-install-recommends samba

# useradd -m user
# smbpasswd -a user

# adduser user sambashare

# chgrp -R sambashare /mnt/data
# chmod -R g+r /mnt/data

# cd /etc/samba
# mv smb.conf smb.conf.org
# vi smb.conf
[global]
        netbios name = SERVER
        workgroup = WORKGROUP
        server role = standalone server
        name resolve order = bcast host
        domain master = no
        case sensitive = no
        auto services = global
        bind interfaces only = yes
        disable netbios = no
        smb ports = 139 445
        log file = /var/log/samba/smb.log
        max log size = 1000
        load printers = no
        force group = sambashare

[data]
        path = /mnt/data
        browseable = yes
        read only = no
        delete readonly = yes
        valid users = @sambashare

# service smbd restart