Updating an GIRA 2167 00 IP Router
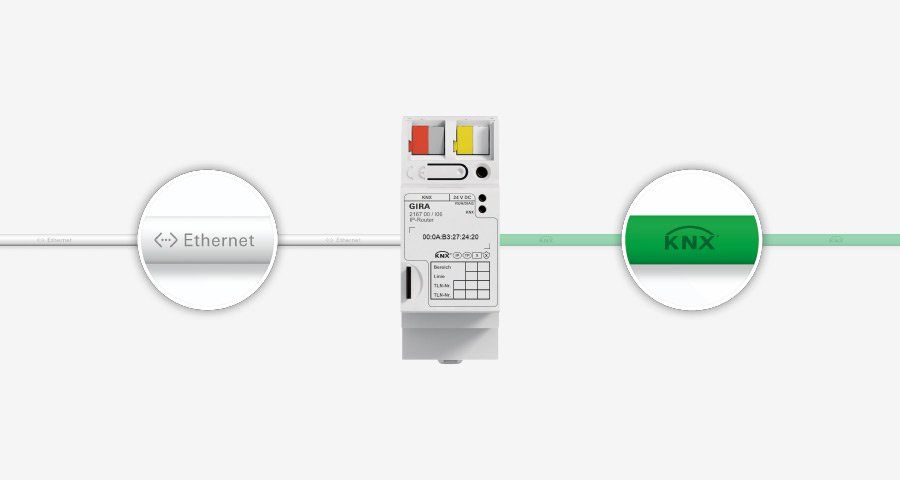
I bought a second hand IP router to replace my IP interface, I’m trying to setup a IP backbone so I can extend my KNX network to the Shed via power-line modules. A second IP router is underway shortly.
The one I have now is an Index 04 version, “2167 00 I04” I originally wanted a I14 so I could experiment with Secure KNX, but I don’t need it since the power-line modules encrypt the data as well. And new devices are almost double the price.
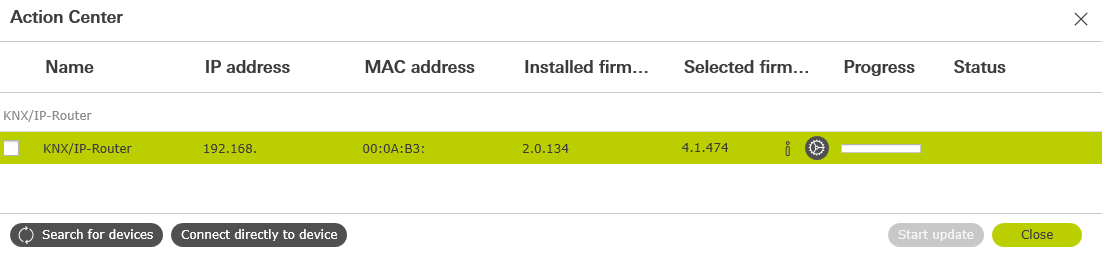
The one I received contained firmware version 2.0.134, latest version currently online is 4.1.474. I knew I had to install and use Gira’s Project Assistant to upgrade it. Version 4.3, it automatically found the IP router on my network and suggested to download the firmware from the web. That went smoothly.
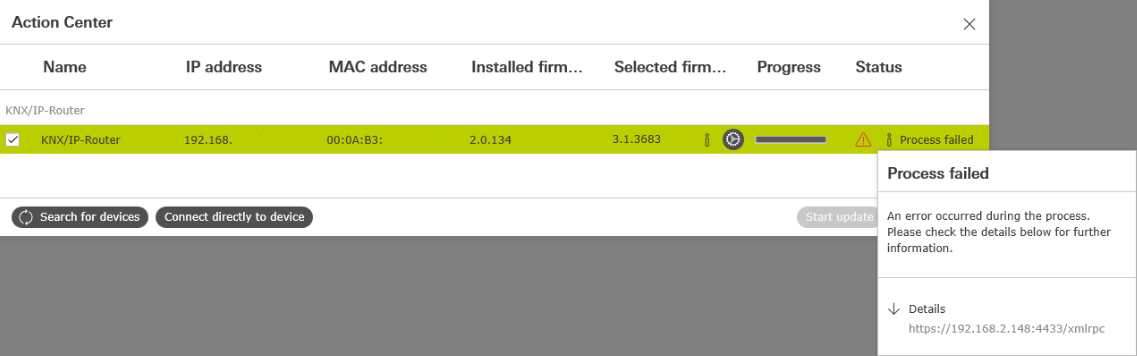
Clicking the upgrade button resulted in an error message about xmlrpc not responding. Below I tried to upgrade to version 3.1 first, but this didn’t matter.
After some googling I found more people with the same issue, some gave up and stayed on version 2, but I also found some information about TLS 1.0 and Windows 10. There use to be a document and scripts to disable and enable TLS 1.0, but the links to the Gira site where broken.
Found it here: [[https://www.futurasmus-knxgroup.com/producto.php?cod_producto=18610](http://descargas.futurasmus-knxgroup.org/DOC/DE/Gira/18610/workaround-gpa_kommunikation_mit_den_gira_geraeten.zip)](http://descargas.futurasmus-knxgroup.org/DOC/DE/Gira/18610/workaround-gpa_kommunikation_mit_den_gira_geraeten.zip) The name of the file is: workaround-gpa_kommunikation_mit_den_gira_geraeten.zip
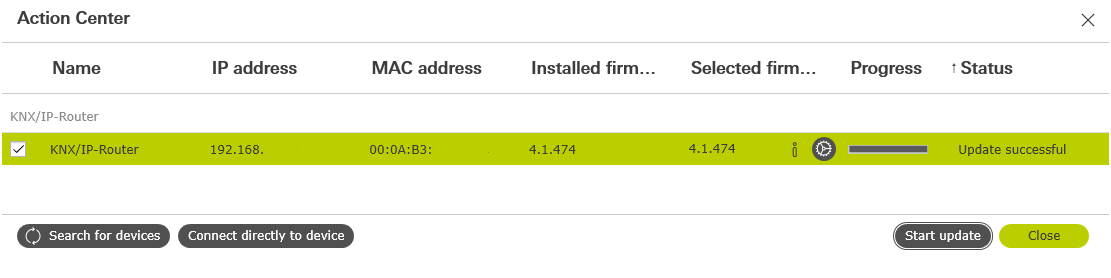
It contains a small document, and two registry files to set a certain registry value. A workaround to disable and enable TLS 1.0 before and after the update. I ran “Deaktiviere TLS Sicherheit.reg” and the update went smoothly after that from version 2.0.134 to version 4.1.474. The upgrade took almost 30 minutes btw.
After this I ran “Aktiviere TLS Sicherheit.reg”. Now I can change the backbone to IP, but I also have to move the RF line and all other RF devices I have to the TP line below the IP router, since you cannot have an IP backbone above a RF coupler, it’s not supported. To be continued.
NOTE TO SELF:
A factory reset can be carried out directly on the device via a sequence performed during start-up.
Make sure that the device is switched off
- Press and hold the programming button and switch on the device
- Press and hold the programming button until the programming LED, the operation indication LED and the KNX LED slowly flash simultaneously. This happens after approximately 30seconds
- Briefly release the programming button, then press and hold it again until the programming LED, the operation indication LED and the KNX LED flash quickly simultaneously
- The factory reset has now been carried out
- Release the programming button