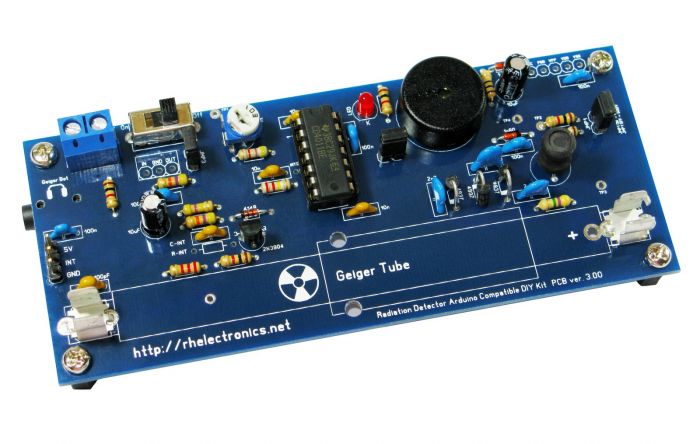
I had this Geiger counter DIY Kit for Arduino laying around for a long time and decided to connect it to my Home Assistant installation using ESPHome.
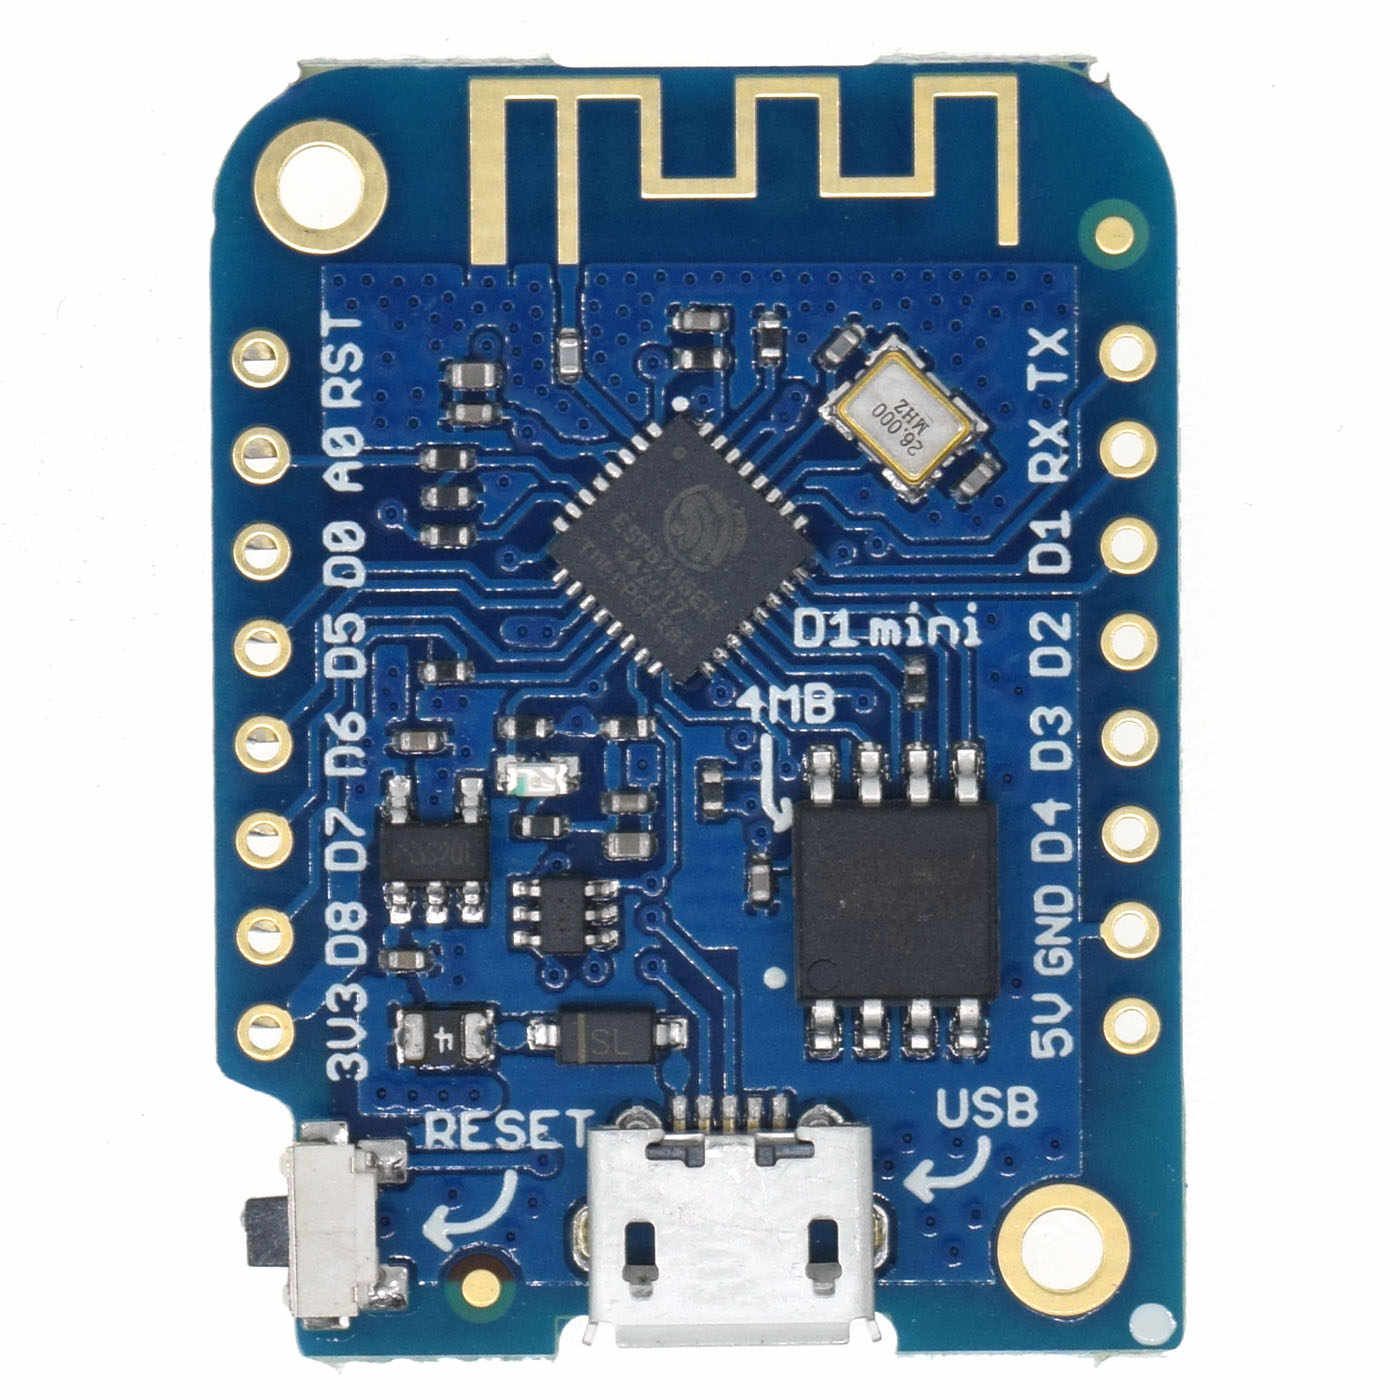
I'm using a Wemos D1 mini, even though the counter works at 5V and the IO pins accept a max. voltage of 3.2V it works and hasn't damage the input. (disclaimer)
Connect the pins as follows:
| Wemos D1 | Geigercounter |
|---|---|
| GND | GND |
| 5V | 5V |
| D2 (GPIO4) | INT |
esphome:
  name: <YOURPLUGNAME>
  platform: ESP8266
  board: esp01_1m

wifi:
  ssid: "<WIFISSID>"
  password: "<WIFIPASSWORD>"

# Enable logging
logger:

# Enable Home Assistant API
api:
  password: "<YOURPASSWORD>"

ota:
  password: "<YOURPASSWORD>"

sensor:
  - platform: pulse_counter
    pin: GPIO4
    name: "Geiger Counter"
    update_interval: 15s
    unit_of_measurement: 'μSv/h'
    filters:
      - multiply: 0.006315
      # https://github.com/radhoo/uradmonitor_kit1/issues/16
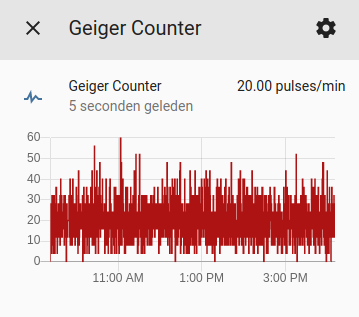
Above the code for the ESPHome node, after compile and upload, auto discover it using integrations and define a Lovelace entry like so:
              - type: entities
                entities:
                  - entity: sensor.geiger_counter
Resources:
Geiger Counter Radiation Detector DIY Kit Arduino Compatible ver. 3.00 | RH Electronics
Radiation Detector DIY Kit ver. 3.00The third edition of our Nuclear Radiation DIY Detector Kit. Arduino compatible kit. Easy assembly for beginners. Support many popular 400V and 500V Geiger Tubes. The kit has several improvements in compare to previously sold second editions. The package comes wit…
 RHElectronics