-
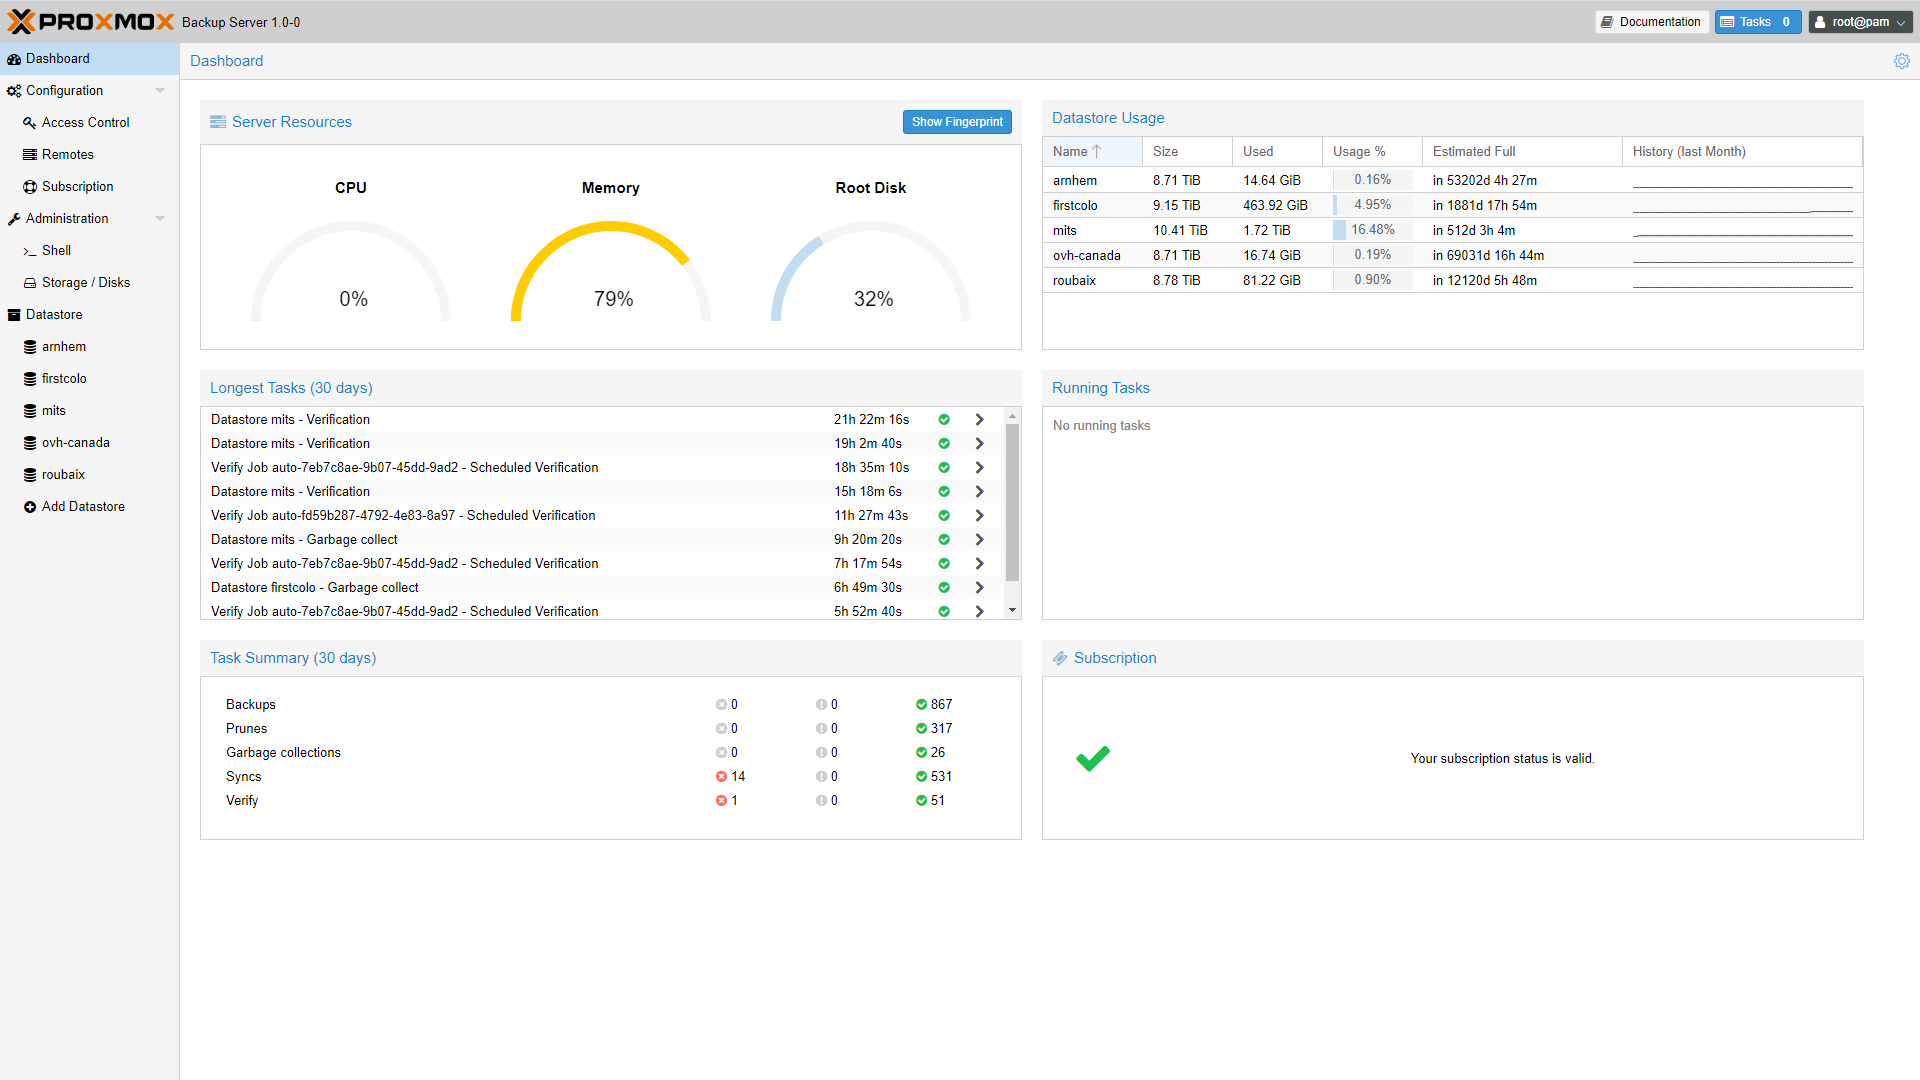
Installing Proxmox on a Intel NUC
I installed Proxmox on a spare NUC8 to run all kind of things and get Proxmox experience. Hardware * Intel NUC with at leas...
-
 THETHINGSNETWORK
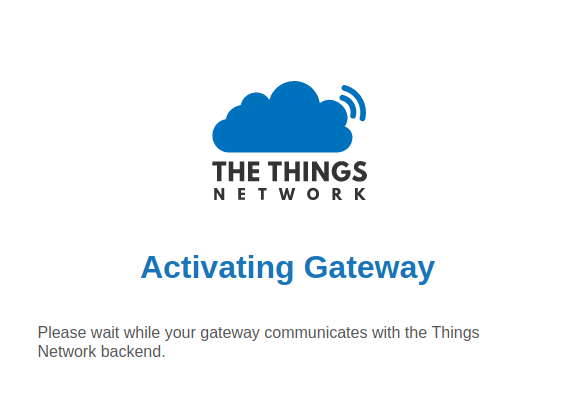
Move TTN Kickstarter LORA Gateway to V3 network
Finally had some time to move my TTN gateway from V2 to V2 network. Here are the steps and screenshots. Prerequisites: - Runni...
-
 ANDROID
Android 12 Developer Preview 1
A developer preview of the new Android 12 is available, I installed it on my Pixel 3 XL, and it works fine, a lot of good news ...
-
 AWS
AWS
Hosting a Ghost blog on AWS
I decided to switch to only using Home Assistant OS for running servers, I have an Intel NUC (development) and Home Assistant B...
-
 HOME ASSISTANT
Home Assistant OS on a Intel NUC
My D.I.Y. i3 board running Ubuntu 18 and Docker with Supervised HA for a long became unsupported, and in unhealthy state accord...
-
 KNX
KNX
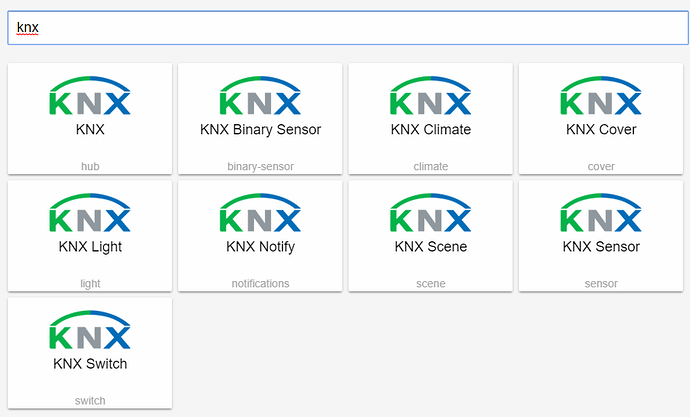
Control Home Assistant devices with KNX group addresses
Had to look up some posts before I got it working, so this is a note to myself. First you need to allow the KNX Group Addresse...
-
 KNX
KNX
JUNG KNX multi station
Art. No. 23066REGHE I bought a few of these modules some time ago, they were used for a short period in holiday homes and repl...
-
 KNX
KNX
Gira Home Server 4 on Fujitsu S720
IMPORTANT NOTE: This setup is pure for testing/HSL development/knowledge gathering only, don't use this in production environme...
-
 MFA
MFA
GitHub MFA on Ubuntu CLI
Install and compile the Gnome Keyring development $ sudo apt-get install libgnome-keyring-dev $ sudo make --directory=/usr/sha...